Most weeks somebody sets a blood pressure monitor down across the counter and asks me some version of the same question. The wrist cuff at home says one thing, the arm cuff at the clinic said another, so which one is telling the truth?
For most people, the upper arm. The American Heart Association recommends “an automatic, cuff-style, upper arm (biceps) monitor” for home use, and it says plainly that wrist and finger monitors are not recommended because they give less reliable readings. A wrist cuff isn’t useless, though. And the reasons behind that advice matter more than the advice itself, because they’re the same reasons an upper-arm cuff can give you a wrong number too.
One thing before we start. I’m a pharmacist, not a doctor. I can tell you how these devices work and how to get an honest reading out of one. What your numbers mean for you is a conversation for your doctor.
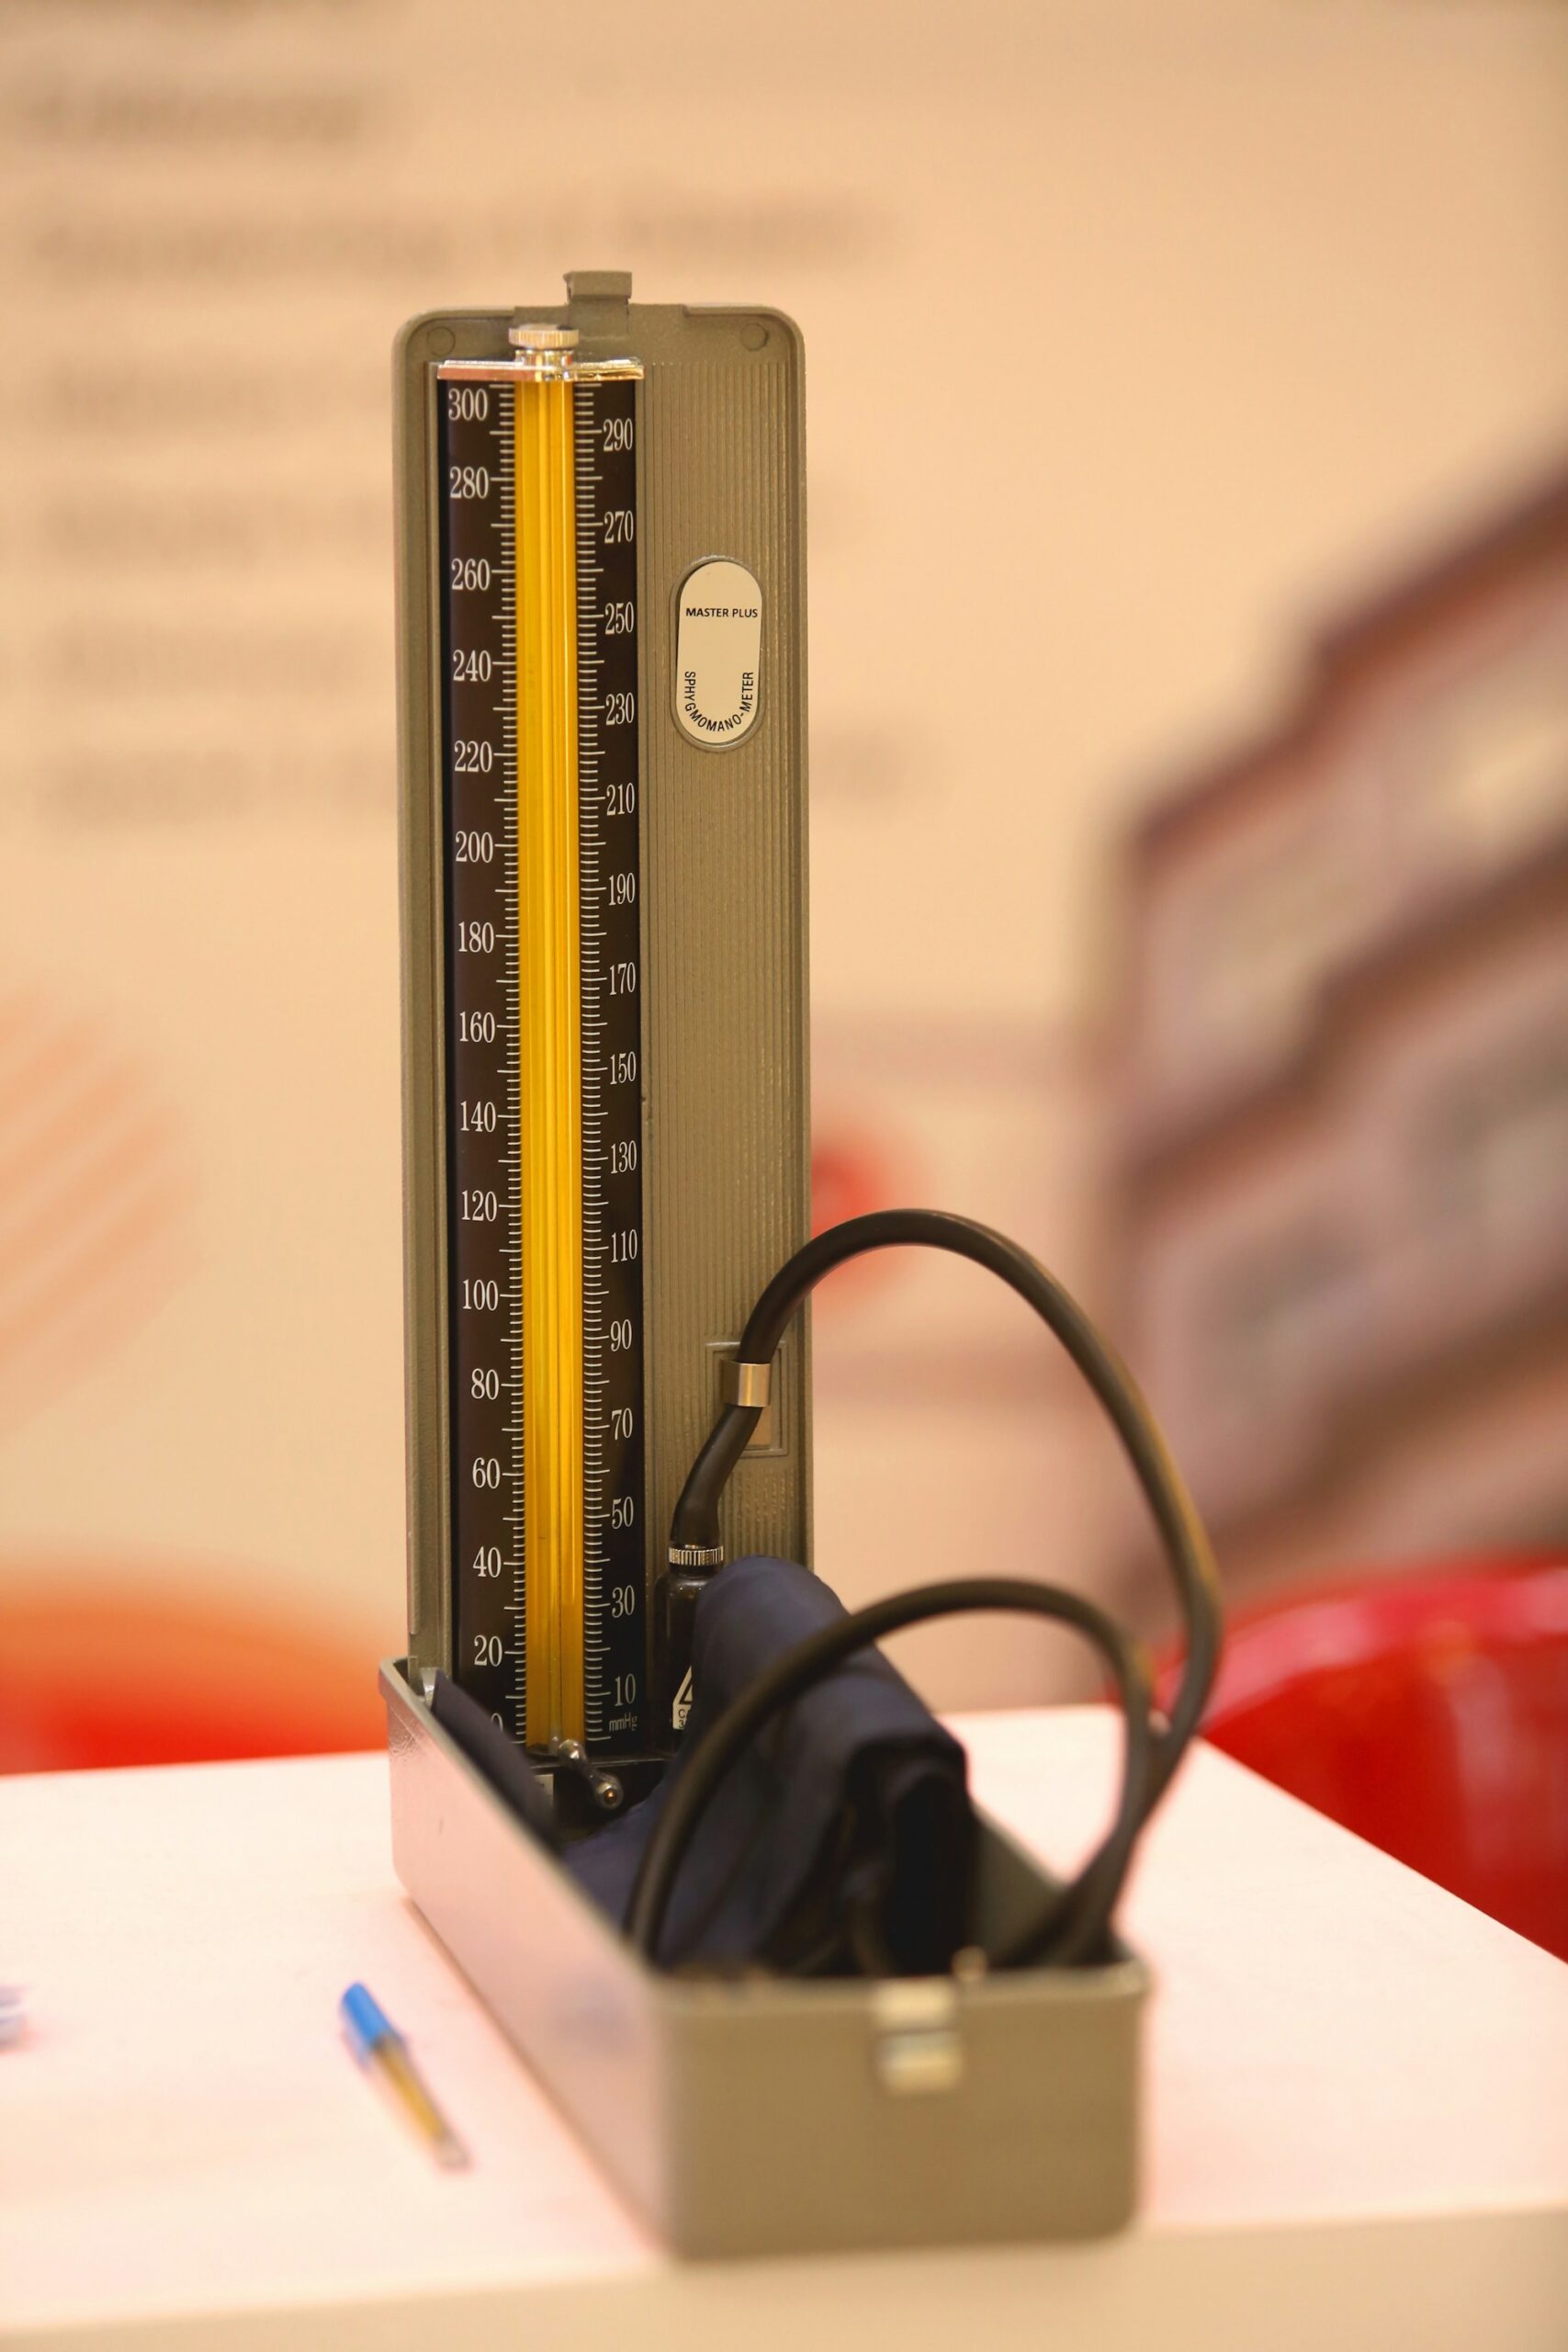
The gauge in the photo above is the old way of doing it: a column, a cuff with a rubber bulb, and a nurse listening through a stethoscope. Today’s home monitors do the listening for you. That’s convenient. It also means the machine can’t tell when you’ve set it up wrong.
Why Doctors Point You to the Upper Arm

Your doctor’s office measures at the upper arm for a reason. Its cuff wraps around the brachial artery, a large artery running down the inside of your arm. When you sit at a table with your forearm resting on it, that spot lands close to the level of your heart without any effort from you.
Home monitors work by feel rather than by sound. The cuff inflates, lets the air out slowly, and a sensor picks up the tiny pulses in the cuff as blood starts pushing through again. A formula inside the monitor turns that pattern into the two numbers on the display. That formula is tuned and tested on people, and the upper arm gives it a big, steady artery to work with.
Wrist monitors use the same idea on the radial artery, the one you feel when you take your own pulse. It’s smaller, and it runs close to the bones and tendons of the wrist. The AHA’s 2019 scientific statement on measuring blood pressure points out that only in the past decade or so have wrist devices been able to pass validation at all. Some now do.
A monitor being for sale doesn’t mean it was ever validated, wrist or arm. That’s why the AHA tells you to choose one that was, and why I send people to the free list at validatebp.org before they spend a dollar.
What Goes Wrong at the Wrist

The same AHA statement lists what trips up a wrist cuff. Every item on it is something you can control, which is good news.
First comes position. The sensor has to sit directly over the radial artery, and wrist cuffs tend to slip off it. Bending your wrist makes that worse, so a hand resting at an angle on the arm of a chair can be enough to change the reading.
Second is height, and this one surprises people. A wrist reading is only accurate when your wrist is level with your heart. Below the heart, the reading comes out too high. Above it, too low. Rest your hand in your lap, which is where most of us put it, and your wrist sits well below your heart. Your monitor has no idea. It shows you the higher number with complete confidence.
Gravity isn’t only a wrist problem. It also says an arm left hanging down at your side gives a reading that’s too high, which is why the arm cuff wants your arm resting on a table. What differs is that the upper arm makes the right position easy. A wrist cuff asks you to hold your hand up near your chest and keep it there, still, for the whole measurement.
For readers with arthritis in their hands or shoulders, that’s harder than it sounds. If your arm tires and drifts down halfway through, you get a higher number that has nothing to do with your heart and everything to do with where your hand ended up.
What a 2026 Study Found When It Tested Both on the Same People
Most comparisons between wrist and arm monitors happen in a lab, with a trained person putting the cuff on. A 2026 study in Hypertension Research tried something closer to real life. Its researchers had 121 adults put the cuffs on themselves in a home-like setup, then compared a validated wrist monitor (an Omron RS4) with a validated upper-arm monitor (a Microlife WatchBP Home).
Both devices had passed validation. They still disagreed.
On average, the wrist monitor read 9.8 mmHg higher for the top number (systolic) and 8.4 mmHg higher for the bottom number (diastolic). Averages hide the spread, though. For systolic pressure, the range that held 95 percent of the differences ran from about 25 mmHg lower on the wrist to 44 mmHg higher. A 44 mmHg gap is the difference between “fine” and “call the office.”
That changed who looked like they had high blood pressure. Using 135 systolic as the line, 28.1% of upper-arm readings were at or over it, against 47.1% of wrist readings. For diastolic, with 85 as the line, it was 35.5% against 56.6%. Same people, same afternoon, very different picture.
That gap grew as pressure went up. It was around 5 mmHg at low pressures, more than 15 mmHg systolic once pressure passed 180, and more than 12 mmHg diastolic above 110. The upper-arm device was also the more precise of the two, meaning its errors were scattered less widely.
This is one study with one pair of monitors, so it doesn’t mean every wrist cuff reads 10 mmHg high. What it does show is that two validated devices can tell the same person different stories when that person puts them on at home, with no nurse checking the fit. That’s exactly how you’ll be using yours.
Every Monitor Has an Error Band, Even a Good One
Here’s what the box never prints. “Validated” doesn’t mean exact. It means the monitor passed a test, and the test has a pass mark.
Under the universal validation standard agreed in 2018 by the AAMI, the European Society of Hypertension and the ISO, the average difference between a monitor and the reference readings has to stay within 5 mmHg either way. Their standard deviation can be no more than 8 mmHg. Registered validation studies write it as “5 ± 8 mmHg.”
In plain words, a monitor can pass while being a few points off on average, and single readings scatter around that average. With a spread of 8, even a monitor whose average was spot on could put roughly one reading in three more than 8 mmHg away from the reference.
So when the display says 128 over 82, I’d read it as “somewhere around 120 to 136, over somewhere around 74 to 90.” That’s the error band of a good upper-arm monitor used the right way. A wrist monitor that passed the same test has the same pass mark on paper, but at home its band is wider, because so much rides on where your hand is. The 2026 study found the same thing.
This is why the AHA asks for two readings, one minute apart, written down, and why a pattern over many days tells your doctor far more than any single number. In my experience, the people who worry most are the ones who take one reading, don’t like it, and take five more in a row. They’re chasing the error band. Take your two, write them down, and get on with your morning.
When a Wrist Cuff Is the Right Call
None of this means a wrist cuff belongs in the trash. The validated device list run by the American Medical Association says a validated wrist cuff can stand in when no upper-arm cuff fits the person, or when the upper arm can’t be used. It also notes that guidelines don’t support wrist devices for most patients.
From the other side, the AHA statement says the same thing: wrist monitors are popular partly because they’re easy to use, and partly because they work for people with very large upper arms. If even the largest cuff won’t close around your arm, a validated wrist cuff used carefully is the sensible choice, and a cuff that’s too small isn’t. A cuff that’s too small reads high, and no amount of careful sitting fixes that.
If you go the wrist route, pick a validated model, bring your wrist to heart level every single time, and keep it straight while it measures. Then take it to your doctor’s office so it can be checked against their equipment. If your doctor has told you not to use one arm for readings, ask them which arm and which device they’d like you to use before you buy anything.
Cuff Size: Measure Before You Buy
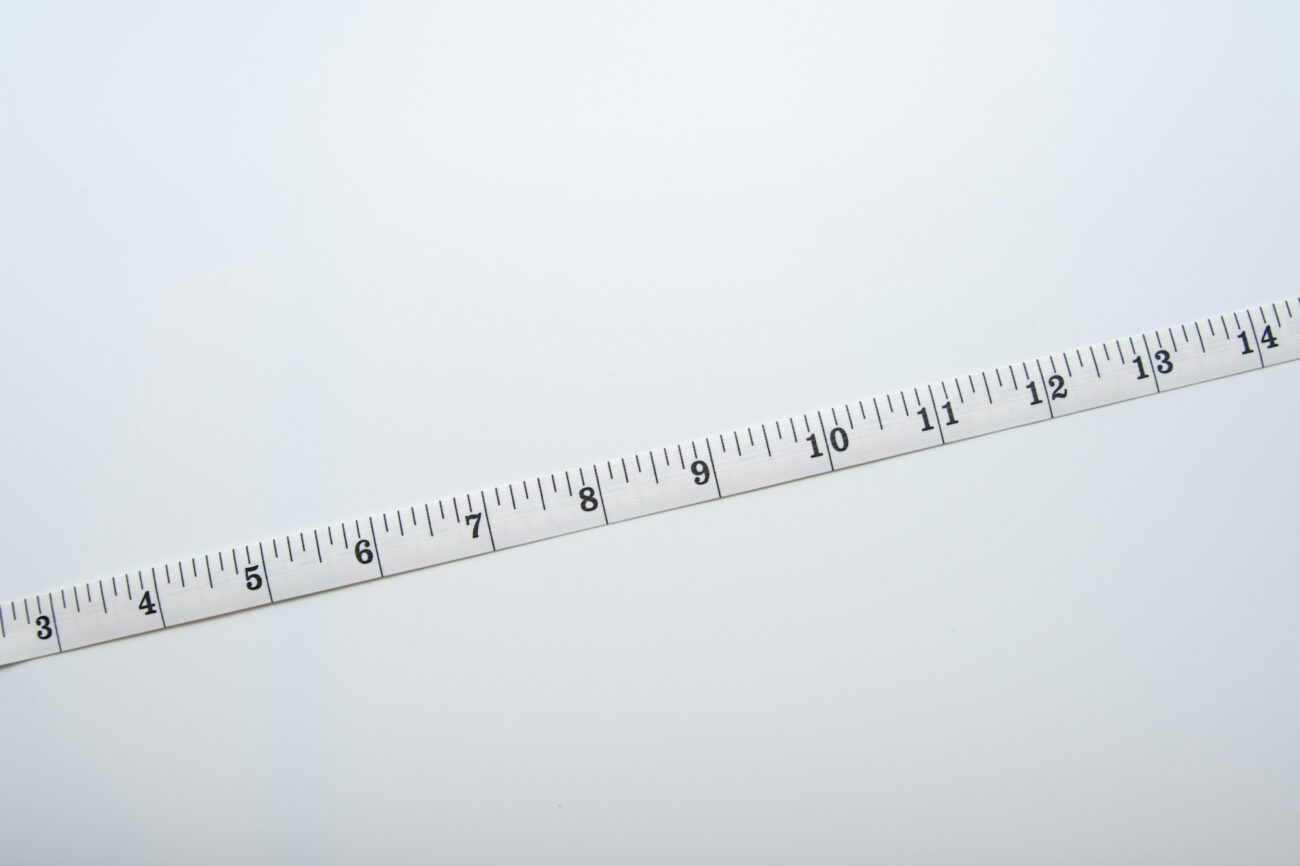
This is the step people skip, and it matters for arm cuffs most of all. The AHA’s advice is simple: measure around your upper arm and choose a monitor with the correct cuff size. Its 2019 statement explains why. A cuff that’s too small gives an artificially high reading, and one that’s too large gives an artificially low one.
Use a soft tape around your bare arm, where the cuff will sit. Write the number down, then compare it with the range printed on the box or the maker’s page. If you land above the largest size, show the number to your pharmacist and ask what fits.
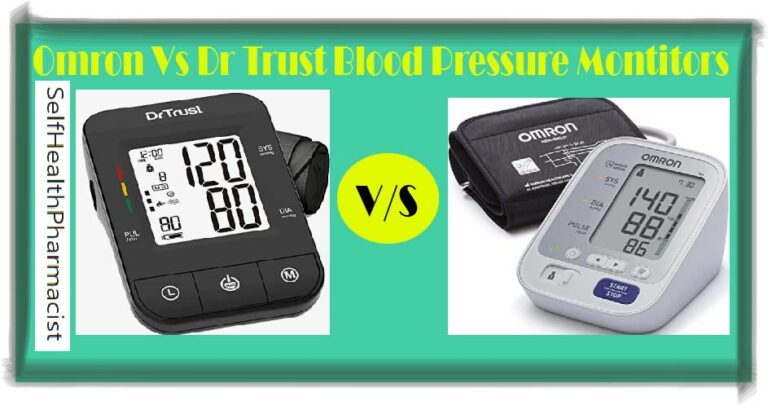
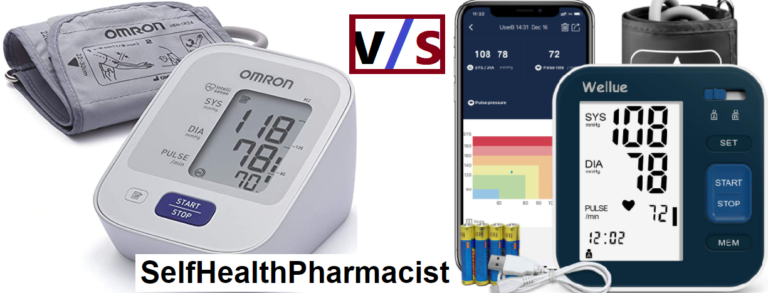
If you’re comparing brands, I went through two of the popular ones in Beurer vs Omron Blood Pressure Monitor.
How I’d Take a Reading, Either Kind

This routine comes straight from the AHA, and it works the same whether the cuff goes on your arm or your wrist.
- For 30 minutes before, no smoking, no caffeinated drinks and no exercise. Yes, the morning coffee counts.
- Empty your bladder first.
- Sit with your back supported, feet flat on the floor and legs uncrossed. Rest for at least 5 minutes.
- Rest your arm on a table so the middle of the cuff is at heart level. For an arm cuff, the bottom edge goes just above the bend of your elbow, on bare skin, never over a sleeve.
- For a wrist cuff, bring the wrist up to heart level and keep it straight.
- No talking or texting while it measures.
- Take two readings one minute apart, write both down, and do it at the same time each day.
Each of those has a reason, and the statement put numbers on two of them. An unsupported back can add 5 to 15 mmHg to the top number and about 6 mmHg to the bottom one. Crossed legs can add 5 to 8 mmHg systolic and 3 to 5 mmHg diastolic. Those are bigger than the error band of a good monitor. The chair you sit in matters more than the brand on the box.
If you check after a workout, timing changes everything. I wrote about that in Blood Pressure After Exercise: When to Take the Reading.
Bring It to Your Doctor’s Office Once a Year

Your monitor needs a check-up too. AHA guidance is to take it to your next appointment so it can be checked against the office equipment, then bringing it along once a year. Bring your written log while you’re at it. A page of readings taken the right way gives your doctor something one office reading can’t: a picture of your ordinary days.
Only a doctor or other medical professional can confirm high blood pressure. A monitor can’t diagnose anything, wrist or arm, and neither can I. Whether your numbers sit in a normal range for you is your doctor’s call.
There is one time you don’t wait for an appointment. If a reading is above 180/120, the AHA says to wait at least one minute and test again. If it’s still that high, contact your healthcare professional right away. If a reading that high comes with chest pain, shortness of breath, back pain, numbness, weakness, a change in your vision or trouble speaking, call 911. At that height the error band doesn’t matter. Call someone.
If I were choosing a monitor for my own kitchen table, I’d measure my arm first, look up validated upper-arm models in that cuff size, and spend most of my effort on the chair and the routine. Then I’d let my doctor read the log.